Table of Contents
- Why Remote Mediation Demands a Structured Playbook
- Pre-Session Technology Requirements and Verification
- Essential Equipment and Software Checklist for Mediators
- Pre-Session Client Communication Templates and Scripts
- Room Setup and Environmental Considerations
- Opening Statement Scripts and Participant Framing
- Managing Virtual Caucus Sessions and Private Meetings
- Real-Time Documentation and Note-Taking Systems
- Troubleshooting Common Technical Issues During Sessions
- Post-Session Follow-Up and Agreement Documentation
- Building Your Remote Mediation Practice with Confidence
- Our Certification Prepares You for Remote Practice Success
- Frequently Asked Questions (FAQ)
Why Remote Mediation Demands a Structured Playbook
Remote mediation has become the default for many practitioners, and for good reason. Flexibility, reduced travel costs, and broader geographic reach make it attractive. But it also introduces complexity that in-person mediation sidesteps: technology failures, unclear audio, competing home environments, and the loss of non-verbal cues that happen naturally across a conference table.
We’ve found that mediators operating without a detailed playbook encounter preventable problems: participants feeling disconnected, missed emotional signals, awkward transitions between joint sessions and private caucuses, and lost documentation. A structured approach transforms remote sessions from an obstacle into an advantage.
This guide provides the scripts, checklists, and systems we recommend to mediators building sustainable remote practices. Follow it and you’ll reduce setup stress, appear more professional, and create the conditions for genuine resolution.
Pre-Session Technology Requirements and Verification
Before any participant logs in, test everything twice. This isn’t paranoia; it’s professionalism. We recommend conducting a full technical walkthrough at least 48 hours before the scheduled session, then again 30 minutes before participants arrive.
Start with your video conferencing platform. Confirm that your account allows multiple participants, recording (if needed), and breakout rooms for private caucuses. Most mediators use Zoom, Microsoft Teams, or Google Meet, each with slightly different feature sets. Verify your camera, microphone, and speakers work independently. A common mistake is relying on your device’s built-in speakers and discovering too late that audio echoes or drops.
Test your internet connection using a speed test tool (speedtest.net works fine). Aim for at least 5 Mbps upload and download for video conferencing. If you’re near that threshold, ask household members not to stream video during your session, or consider using a wired Ethernet connection if your setup allows it.
Create a backup plan. Have your mobile phone ready with the same conferencing app installed, tethered internet available, and a secondary Zoom link printed or saved. If your primary setup fails, you can pivot within seconds rather than scrambling to reschedule.
Action step: Schedule a 15-minute test call with a colleague or mentor at least weekly to catch issues early.
Essential Equipment and Software Checklist for Mediators
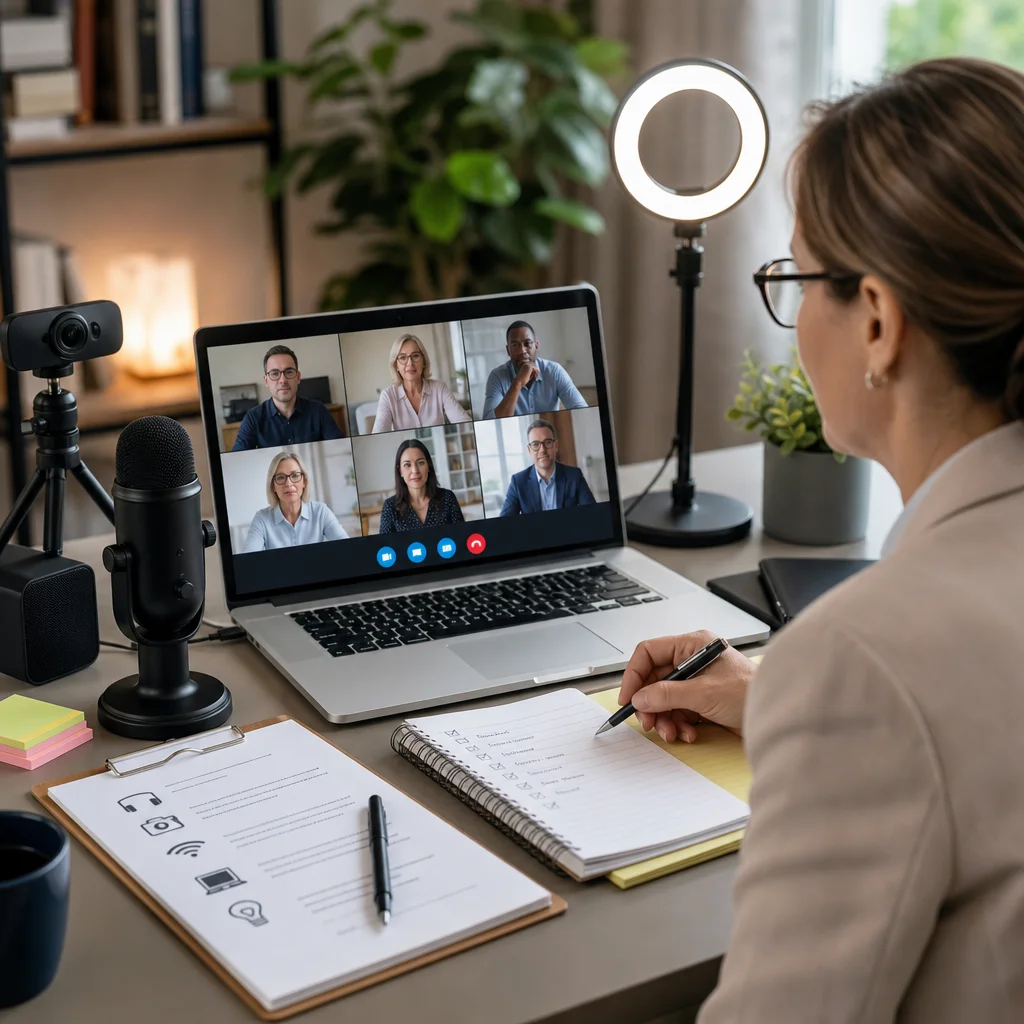
Your mediation toolkit shouldn’t require expensive gear, but certain items matter. A quality external microphone (around $50-100) often makes more difference than an expensive camera. The built-in microphone on laptops picks up keyboard clicks, background noise, and room reflections that undermine participant focus.
A dedicated webcam (1080p minimum) is worthwhile if your laptop’s camera is dim or blurry. Participants subconsciously trust practitioners who appear clear and present. Poor video quality reads as unprofessional.
For documentation and note-taking, you’ll want:
- A note-taking app (OneNote, Notion, or even Google Docs) synced to the cloud for real-time access during sessions
- A backup document storage system (Google Drive, Dropbox, OneDrive) for agreement drafts and session records
- PDF annotation software for marking up proposed agreements in real time
- A timer tool visible on your screen to manage session pacing and caucus duration
Lighting matters more than most mediators realize. Invest in a simple ring light or position yourself facing a window with natural light behind your camera. Side lighting creates shadows; overhead lighting often casts unflattering shadows on your face. Good lighting builds rapport.
Keep a printed backup sheet nearby listing participant contact information, session goals, and any special considerations (language needs, accessibility requirements, high-conflict dynamics). Digital systems fail; a printed sheet never does.
Action step: Spend one hour assembling and testing your complete toolkit, then create a laminated checklist you review before every session.
Pre-Session Client Communication Templates and Scripts
Your first contact with participants sets expectations. Here’s a template email we recommend sending 7-10 days before the session:
“Thank you for agreeing to participate in mediation on [date] at [time]. Our session will take place online using Zoom. You’ll receive a unique link 24 hours before we start. Please plan to be in a quiet, private space where you won’t be interrupted. You’ll need a computer or tablet with a camera and microphone. Please test your audio and video 15 minutes early by clicking the Zoom link and confirming everything works. If you have technical questions, please email me at [email] or call [phone] by [time]. Looking forward to working together toward resolution.”

This email accomplishes several things: it clarifies logistics, sets a professional tone, manages technical expectations, and provides a clear point of contact for problems. Send a follow-up reminder 24 hours before the session with the Zoom link and a brief confirmation request.
For participants unfamiliar with video conferencing, offer a 10-minute orientation call the day before. Walk them through how to unmute, use the chat, and navigate breakout rooms. This small investment prevents awkward troubleshooting during the actual session.
Action step: Customize and save these templates in your email client for reuse. Tailor language based on whether participants are sophisticated users or technology-hesitant.
Room Setup and Environmental Considerations
Your physical space communicates as much as your words. Invest time in creating an environment that feels calm and professional. Choose a room with a door you can close. Eliminate background clutter, piles of papers, or personal items that distract from your role as a neutral party.
Position your camera at eye level (not looking down or up) about 18-24 inches from your face. Your background should be neutral: a plain wall, a bookshelf, or a professional backdrop. Many mediators use a simple collapsible backdrop (under $30) to create consistency across sessions.
Minimize interruptions. Silence your phone, close email notifications, and place a “Do Not Disturb” sign on your door if needed. Participants notice when you’re partially distracted, and it erodes confidence.
Temperature control matters too. A room that’s too warm puts you and participants at risk of fatigue; one that’s too cold causes discomfort and fidgeting. Aim for around 70 degrees Fahrenheit.
Sound isolation is crucial. Remote mediation sessions require clear audio; background traffic, barking dogs, or household activity destroys the sense of safety participants need to be honest. If you’re in a noisy environment, consider noise-dampening panels (affordable on Amazon) or rent a small office space for mediation work.
Action step: Walk your space from the participant’s perspective. Turn on your camera, sit in your chair, and assess what they see and hear. Adjust accordingly.
Opening Statement Scripts and Participant Framing
Your opening sets the tone for everything that follows. This isn’t the moment for improvisation. Use a consistent script that participants hear every time, adjusted slightly for the specific dispute.
Here’s a baseline opening:
“Thank you both for being here today. My role is to help you communicate and explore options for resolving your dispute. I’m not here to judge who’s right or wrong, make decisions for you, or take sides. Everything said in mediation is confidential except as required by law. You each have the opportunity to express yourselves, and I’ll make sure we have balanced time. We’ll take short breaks as needed. My goal is to help you reach an agreement that works for both of you. Before we start, do you have any questions about the process or my role?”
This script achieves several goals: it clarifies your neutrality, sets confidentiality expectations, promises fair process, and invites questions. Deliver it slowly and deliberately, not rushed.
Follow with individual openings for each participant (if opening separately is appropriate for your situation). Ask each person to briefly describe their understanding of the dispute and what they hope to achieve. Listen more than you talk. Take notes but maintain eye contact.
Action step: Record yourself delivering your opening statement and listen back. Refine language that feels stiff or unnatural. Aim for conversational professionalism, not scripted robotics.
Managing Virtual Caucus Sessions and Private Meetings
Caucuses (private meetings with one participant while the other waits) are more complex in remote mediation because you can’t simply step into another room. Breakout rooms in Zoom or similar platforms work well, but require clear preparation.
Before the session starts, create two labeled breakout rooms in your platform. Brief both participants during your opening: “If I invite you to a private breakout room, that’s a space where you can speak with me one-on-one. The other participant won’t hear or see what we discuss. I’ll manage the time and let you know when we’re returning to the joint session.”
During the caucus, sit with closed ears and an open mind. Your role is to listen, clarify interests, explore options, and test willingness to move. Don’t carry inflammatory language from one caucus to another. If Participant A says “This is ridiculous; they’re not negotiating in good faith,” don’t relay that to Participant B. Instead, report back: “They’ve expressed concern about the timeline and want more flexibility.”
Set a timer for each caucus (typically 15-20 minutes for most mediations) and honor it. Unequal time breeds resentment. Return participants to the joint session promptly, even if mid-conversation. You can always circle back.
Document what you learn in caucuses in a separate private note file. Never share these notes with the other participant or include them in your final mediation summary.
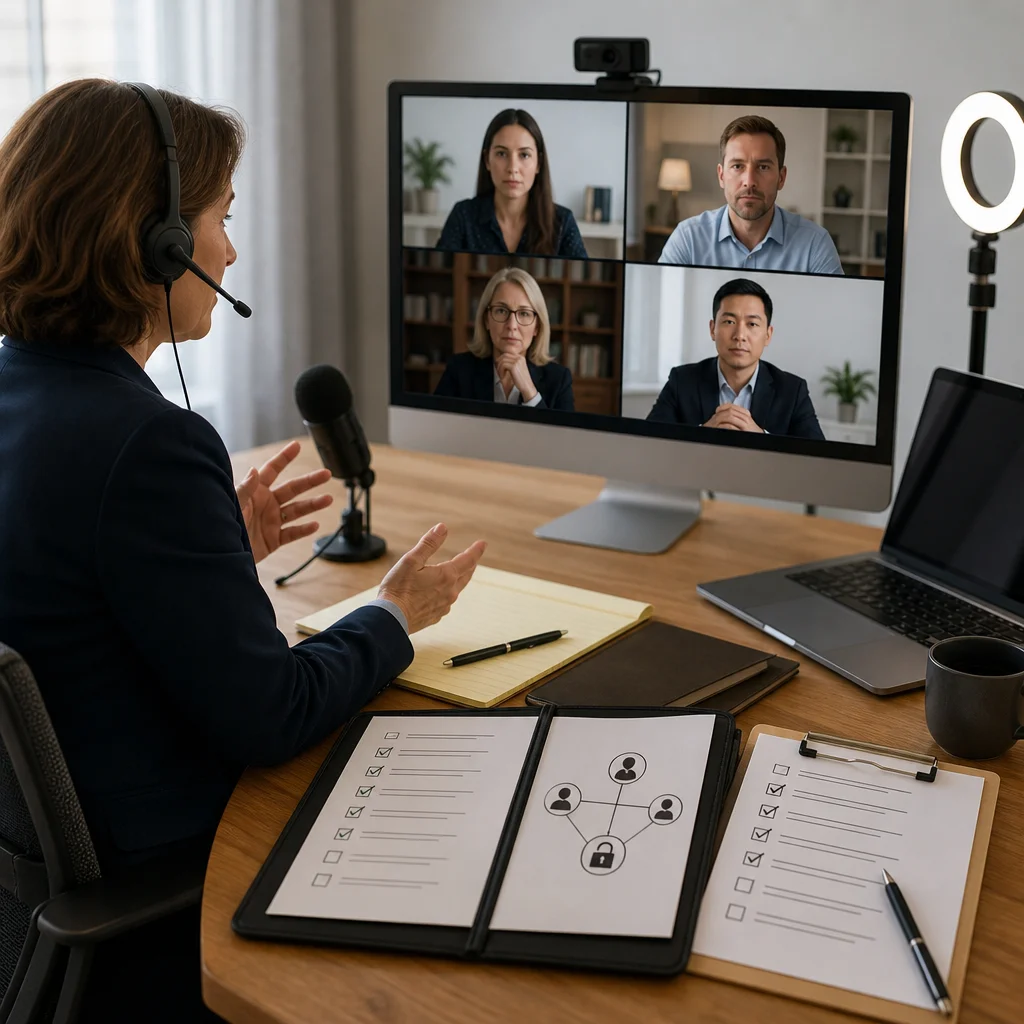
Action step: Before your first remote mediation, practice using breakout rooms with a colleague. Understand how to assign people, switch between rooms, and manage timing smoothly.
Real-Time Documentation and Note-Taking Systems
Many mediators try to multitask: facilitating conversation, managing emotions, and documenting everything simultaneously. This is unrealistic. Establish a system that captures essentials without slowing your presence.
During the session, keep notes brief. Use abbreviations and shorthand. Write topic headers (e.g., “Asset Division,” “Custody Schedule”) and bullet key points. Avoid transcribing dialogue word-for-word; you’re not a court reporter. Your notes serve two purposes: they help you track what’s been discussed and provide a foundation for the settlement agreement.
Use a template that includes:
- Session date, time, participants, mediator name
- Opening positions stated by each participant
- Issues identified and discussed
- Movement or shifts in positions
- Agreements reached (with exact language if possible)
- Issues remaining or tabled
- Next steps or follow-up needed
Many mediators use a shared Google Doc that participants can see in real time (with their permission), which increases transparency and reduces later disputes about what was agreed. Others maintain private notes and share summaries afterward. Choose the approach that fits your style and the specific mediation context.
Action step: Create a standard mediation notes template in your preferred app and use it for every session. Consistency reduces stress and speeds documentation.
Troubleshooting Common Technical Issues During Sessions
Despite perfect preparation, technology sometimes fails. Here’s how to handle common problems:
Participant dropped from video call. Stay calm. Pause the joint session and wait 2-3 minutes for them to reconnect. During this time, don’t discuss the substance of the dispute with the remaining participant. If they don’t reconnect after a few minutes, call them. Often it’s a simple bandwidth issue or accidental button press.
Audio feedback or echo. Ask everyone to check their headphone status. If someone has speakers on while listening through headphones, it creates echo. Have that person use either speakers or headphones, not both.
Someone’s camera isn’t working. Audio is more important than video for mediation. If a participant’s camera fails but audio is clear, continue. They can see and hear you; that’s sufficient.
Your internet drops. If your connection fails, you’re down entirely. This is why the backup plan matters. Switch to your mobile hotspot, join the Zoom from your phone, and tell participants what happened: “I had a brief connection issue. I’m back now. Let’s continue where we left off.”
Recording isn’t working. Don’t panic and don’t tell participants you were supposed to record if you weren’t. If you needed the recording and it failed, you have your notes. Document this in your file and be transparent about it if relevant.
Build recovery language into your mindset: “Technology glitches happen. We’ll work through it together.” This normalizes the occasional problem and keeps participants focused on the mediation, not the tech.
Action step: Write out a simple troubleshooting flowchart specific to your setup and pin it near your desk. When stress hits, follow the chart rather than improvising.
Post-Session Follow-Up and Agreement Documentation
The session ends, but your work continues. Within 24 hours, send a brief follow-up email to both participants thanking them for their time and professionalism. If an agreement was reached, include a summary of key points: “We discussed three main issues today. Here’s what was agreed…”
Draft the settlement agreement within 48-72 hours while language from the session is fresh. Use clear, specific language. Instead of “They’ll pay support,” write: “Participant A agrees to pay Participant B $1,200 per month on the first of each month, beginning [date], for a period of [duration].” Vagueness creates future disputes.
Send the draft to both participants with a request for feedback within 5 business days. Allow them to suggest revisions. Many mediations fail in the final stages because an agreement isn’t properly memorialized. Take this part seriously.
Once both parties approve, provide a final signed agreement and keep a copy in your secure file. Some mediators recommend having both participants sign (electronically or on paper), while others use a mediator signature attesting to the agreement. Clarify your approach with participants upfront.
Follow up at the 30-day mark with a brief check-in: “How’s implementation going? Any questions or issues?” This shows you care and catches problems early, before they derail the agreement.
Action step: Create a settlement agreement template with standard language for your mediation specialty. This saves drafting time and ensures consistency.
Building Your Remote Mediation Practice with Confidence
Mediators who thrive remotely treat their practice like a business, not a side project. Invest in systems now: a scheduling tool (Calendly or similar), client management software (even a simple spreadsheet), and a professional email address separate from personal use.
Track your session metrics. How many hours are you mediating? What’s your resolution rate? What types of cases resolve fastest? This data informs pricing, specialization, and marketing decisions.
Build relationships with referral sources. Attorneys, therapists, financial advisors, and family service agencies regularly refer mediation clients. Provide them with a one-page overview of your services, be responsive to referrals, and follow up with feedback about outcomes. Word-of-mouth remains the best marketing for mediation.
Establish clear policies on fees, cancellations, and rescheduling. Communicate these upfront, in writing. Confusion about financial expectations creates conflict and late-session cancellations.
Invest in continuing education. Mediation skills compound over time, but only if you actively sharpen them. Mediation best practices evolve; stay current through workshops, reading, and mentoring relationships.
Action step: Draft your business policies document now. Have an attorney review it if you’re unsure about liability or compliance issues in your state.
Our Certification Prepares You for Remote Practice Success
We designed our certification program specifically for practitioners building sustainable remote mediation careers. Our 40-hour online course covers everything from foundational mediation skills to advanced remote facilitation techniques. You’ll work through real scenarios with actual instructors, not pre-recorded videos, so you get feedback on your approach.
Our program includes 12 hours of role-play simulation where you practice opening statements, managing difficult emotions, and navigating technological transitions. You’ll also receive mentoring through weekly coaching calls with experienced mediators who’ve built six-figure practices themselves.
We understand the gap between theoretical knowledge and practical confidence. That’s why our curriculum emphasizes systems, scripts, and checklists. You graduate with the exact templates, note-taking structures, and troubleshooting protocols outlined in this guide, customized for your specialty.
Our alumni community is active and supportive. Access ongoing peer mentorship, share best practices, and stay connected to practitioners navigating the same challenges you face.
With our certification, you receive access to mediator liability insurance, digital credentials, and national recognition. Most importantly, you have a community committed to your success.
Start your journey toward a sustainable, remote-based mediation practice. Our certification is available now, self-paced, and you can graduate in under 30 days. We stand behind our training with a 3-day money-back guarantee because we’re confident in what we’ve built.
Ready to move forward? Visit our program page to learn more about enrollment, course structure, and how we support you beyond certification.
Frequently Asked Questions (FAQ)
What technology and equipment do we recommend for conducting remote mediation sessions?
We suggest using a reliable video conferencing platform with breakout room capabilities for private caucus sessions, a quality microphone and webcam, and a secure document management system for agreements. Our certification program includes detailed guidance on selecting tools that meet professional standards while maintaining client confidentiality and session security.
How does our remote mediation training help mediators manage technical disruptions during live sessions?
We provide troubleshooting protocols and contingency scripts that help you navigate common issues like dropped connections or audio problems without losing participant confidence. Our instructors train you through real-world simulation scenarios so you can maintain professionalism when technical challenges arise unexpectedly.
Does our certification cover the specific skills needed to conduct effective virtual caucus sessions with parties in separate virtual rooms?
Yes, we include 12 hours of instructor-led role-play simulation that specifically addresses managing private virtual meetings, maintaining neutrality across separate communication channels, and using documentation systems that keep confidentiality between caucus sessions. Our playbook approach gives you the exact scripts and processes to handle these scenarios professionally.
[2340]abigcandy Login Chính Thức | Casino Trực Tuyến Uy Tín Nhất,abigcandy cung cấp trải nghiệm giải trí đỉnh cao. Tải app APK nhanh chóng, hỗ trợ nạp tiền qua ví điện tử tiện lợi và hướng dẫn chơi Baccarat chi tiết. Tham gia ngay! visit: abigcandy
The app version is a game changer. I can play anywhere and it doesn’t crash. If you prefer mobile gaming, ok777betapp is the way to go.
Finally an app that doesn’t crash every five minutes. The user experience is top notch and very intuitive. Love 42betapp.
216519 348816Wonderful activity! 926240
Always a blast playing here. The promotions are always fresh and the community is great. I’m really happy with ph3taya365.
784766 638927Some genuinely good and valuable information on this site , besides I believe the style contains wonderful features. 637297
994181 142383I discovered your blog web site web site on google and appearance some of your early posts. Preserve up the fantastic operate. I just extra increase Feed to my MSN News Reader. Looking for toward reading far much more by you later on! 935343
This site is honestly a hidden gem. Everything from the registration to the actual gaming is seamless. I really enjoy 988wangame.
831440 621396you can have an perfect blog appropriate here! would you prefer to make some invite posts on my weblog? 964717
Installation was a breeze and the app works perfectly. No annoying bugs or crashes during my sessions. Thanks to 3777bdtapk for the great service.
393838 777530This really is a right blog for would like to locate out about this subject. You realize a lot its almost challenging to argue along (not that I personally would wantHaHa). You in fact put the latest spin with a topic thats been discussed for a long time. Amazing stuff, just great! 828565
The bonuses here are actually legit and easy to claim. I had a great run yesterday and the support team was very helpful. 87a777plataforma is definitely my new favorite.
The login process is seamless and the site loads quickly even on my mobile data. Everything feels very intuitive. I suggest using jljl8login for a hassle free session.
110461 637431I conceive this website has got some real great information for everybody : D. 516700
Really impressed with the customer support team. They answered my questions in minutes. idmpo1881 is definitely a trusted platform.
I’ve suggested this site to all my friends. The odds are fair and the gameplay is exciting. idpasar123 is definitely my new favorite.
Everything from the layout to the payment methods is just perfect. It feels like they really know what players want. Definitely check out phbet160